A protein shaker bottle needs three things: a lid that seals, a mixing method that fits your powder, and a size that matches your scoop. A 20-28 oz bottle with a screw-on lid and a whisk ball handles most powders.
Your powder type, how you clean it, and whether you carry it in a bag all change that answer. Here’s how to pick.
Who needs a shaker, and who doesn’t
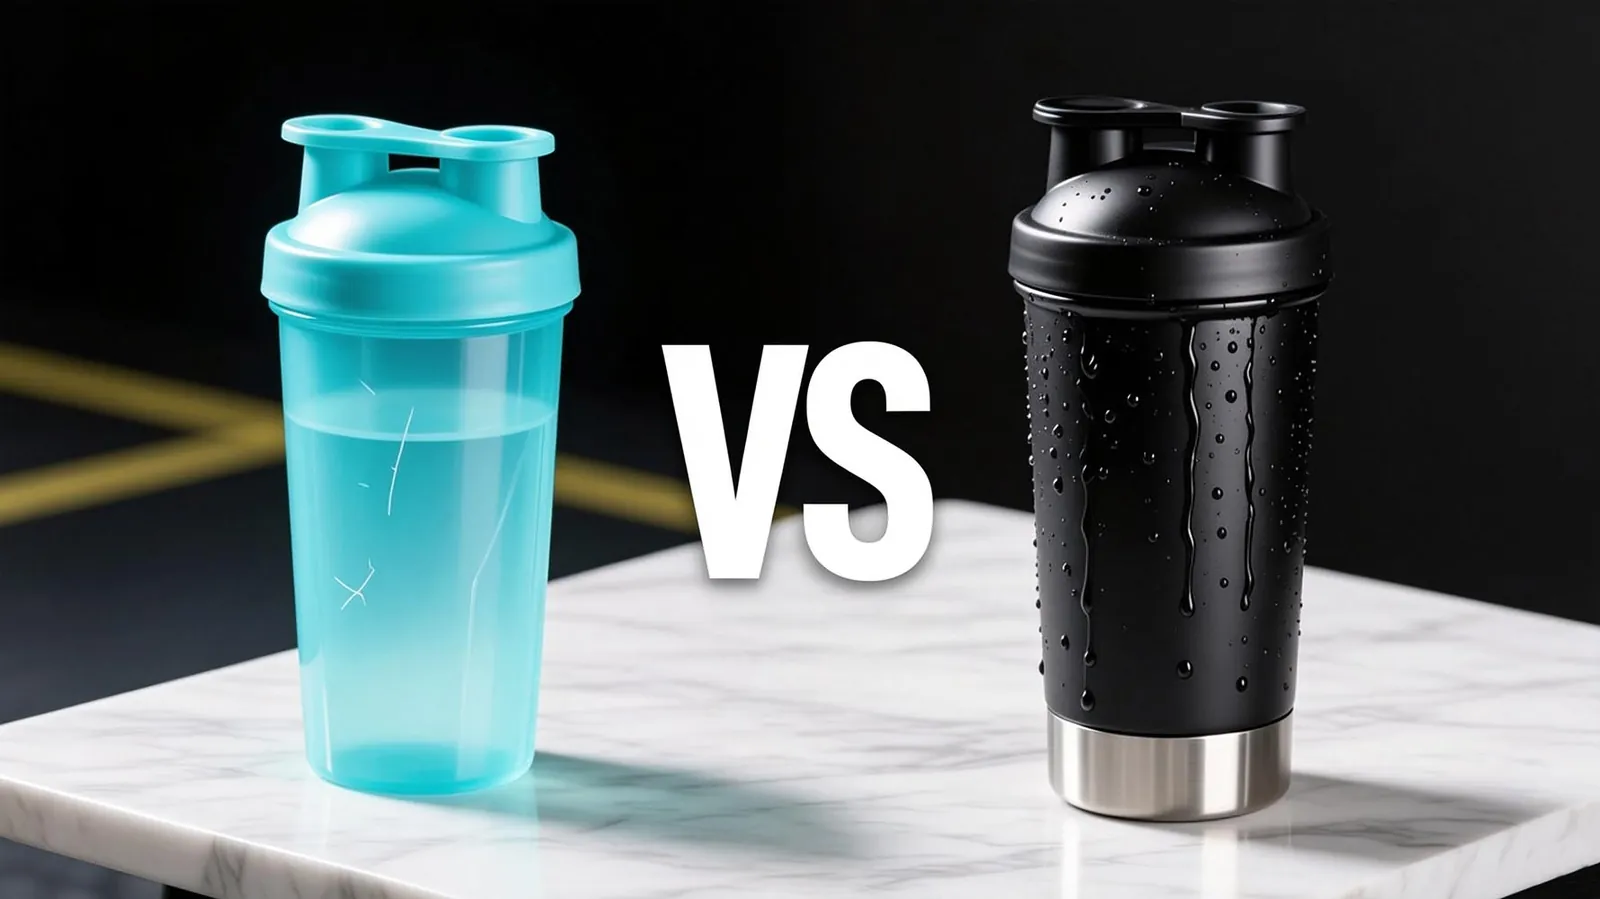
Three kinds of people land on this page. The second is buying their first one and doesn’t want to waste money. The third trains at a gym and needs something that survives a backpack.
This page serves the first two best. It assumes you mix powder with water or milk by hand, shake for a few seconds, and drink within an hour or two.
If you blend frozen fruit, ice, or oats into your drink, a shaker is the wrong tool. You need a blender. If you only ever drink ready-made shakes, you need nothing at all.
What actually decides the result
Lid seal type. A screw-on lid with a silicone gasket holds pressure far better than a push-on flip top. Check the inside of the lid before you buy — if you can’t see a rubber ring, expect drips in a bag.
Bottle size against scoop size. A standard scoop is roughly 30 g, and the tub’s label tells you how much liquid to use.
Material and mouth width. Wide-mouth bottles accept a scoop and a hand for cleaning.
Picking one, step by step
- Measure your usual serving. Scoop your normal powder into a dry measuring cup. One level scoop is about 30 g for most whey products — check your own tub’s label, since it varies by brand. Write the number down.
- Multiply by liquid. Allow 8-10 oz of water per 30 g scoop. Two scoops means you need a bottle with enough headroom to shake, so size up from your single-scoop bottle. You now have your target size.
- Check the lid, not the logo. Unscrew the cap in the store or zoom in on the product photo. Look for a visible silicone gasket seated inside the lid. No gasket, no buy.
- Test the mixing aid. Shake the empty bottle. A whisk ball should rattle freely and reach the corners. If it’s fixed in place or too small, powder will settle under it.
- Check the mouth diameter. It should fit your whole hand, or at least a bottle brush. If your fingers stop at the second knuckle, cleaning will be a chore.
- Fill and shake for 10-15 seconds. Add liquid first, then powder. Shaking longer doesn’t help; shaking in the wrong order does. Liquid first keeps powder from caking on the bottom.
- Turn it upside down over a sink. Hold it for 10 seconds. Any drip at the lid seam means the seal is failing. Return it if it’s new.
- Rinse within 30 minutes of finishing. Old protein sets like cement, especially in warm weather. A quick rinse now saves scrubbing later.
The judgement call is step 6. Powder first, then water, is the habit most people have — and it’s the reason they get clumps at the bottom no matter how hard they shake.
Matching the bottle to your situation
One lead point: the right bottle depends less on brand than on where you’ll use it and what you put in it.
| Your situation | What to do | What it takes | What to watch for |
|---|---|---|---|
| Fine whey powder, gym bag | 24 oz plastic, whisk ball | Low cost, light weight | Lid gasket falling out |
| Thick casein or mass gainer | 28 oz wide-mouth, grid mixer | More shaking time | Powder caking at shoulder |
| Two scoops per drink | 28-32 oz minimum | Bigger bottle to carry | Overflow when you shake |
| Hot drinks or cold weather | Stainless steel, insulated | Heavier, higher cost | Can’t see inside to check |
| Blending fruit or ice | Use a blender instead | Bulky, needs power | Shaker will clog |
| Traveling or flying | Empty bottle, sealed lid | Extra bag space | Pressure changes at altitude |
| Sensitive stomach or smell | Glass or steel, no plastic | Heavier, fragile | Plastic holds odors |
What careful buyers check
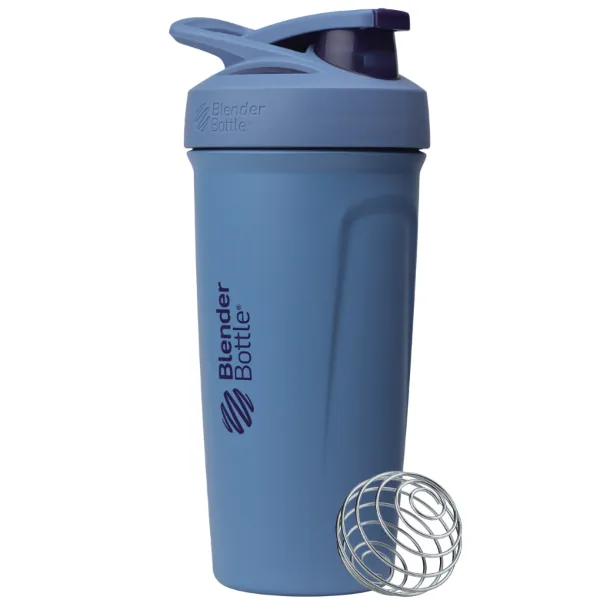
Experienced buyers read the lid before anything else. They unscrew it, look for the gasket, and press it back in if it’s loose. A gasket that sits proud of its groove will pop out in a bag and leak for the rest of the bottle’s life.
Order of work
They add liquid first, then powder, then shake for 10-15 seconds. They check the threads for grit before closing, because one grain of powder breaks the seal.
What they leave alone
They don’t put shakers in a dishwasher’s top rack if the maker says hand wash only. They don’t use boiling water on plastic or store mixed shakes in a warm car.
Common problems and quick fixes
Most shaker complaints come down to four causes: a missing or twisted gasket, powder added before liquid, a bottle that’s too small, or old residue in the threads.
| What you notice | What it usually means | What to do first | How to stop it again |
|---|---|---|---|
| Drips at the lid | Gasket missing or twisted | Reseat or replace gasket | Check gasket after each wash |
| Powder stuck at bottom | Powder added before water | Add water first, then powder | Change your order every time |
| Lid hard to unscrew | Powder grit on the threads | Rinse threads, dry, retry | Wipe threads before closing |
| Smell that won’t leave | Residue in plastic pores | Soak in warm soapy water | Rinse within 30 minutes |
| Cracked lid or thread | Dropped or heat damage | Replace the bottle | Hand wash, avoid hot water |
| Clumps even after shaking | Bottle too small for scoop | Size up to 28 oz | Match size to serving |
Rules and standards that apply
Food-contact plastics in the US fall under FDA rules, and manufacturers are responsible for making sure the materials they use are cleared for food contact. Look for a statement on the bottle or its packaging that the material is cleared for food contact.
The FDA’s food contact substance guidance explains what manufacturers must show before a plastic touches food. If a bottle carries no such statement, ask the seller before buying.
Stainless steel bottles sold for food use should be made from a food-contact grade of steel; ask the seller what the bottle is made of. If they can’t tell you, that’s your answer.
What it really costs
A basic plastic shaker runs a few dollars; insulated stainless models cost several times more. Prices move with brand, size and material, so check the current listing rather than trusting any fixed number here.
What raises the cost: insulation, steel instead of plastic, larger capacity, and brand name. What lowers it: a plain plastic bottle with a whisk ball, bought in a multipack.
The hidden cost is replacement. A bottle with a lost gasket or a cracked lid gets thrown out, not fixed. Buying one with a spare gasket in the box saves you that cycle. Compare the price of the bottle against how long the lid actually lasts.
Keeping it clean and usable
Rinse the bottle within 30 minutes of finishing, then wash with warm water and dish soap. A bottle brush reaches the shoulder where powder collects.
Leave the lid off while it dries, and store it open. That single habit prevents most odor problems.
The sign it needs attention again: a smell that survives washing, or a gasket that no longer sits flat. Replace the gasket if you can buy one; otherwise replace the bottle. You don’t need to start over with a new brand — just check the lid on the next one.
When a shaker isn’t the right choice
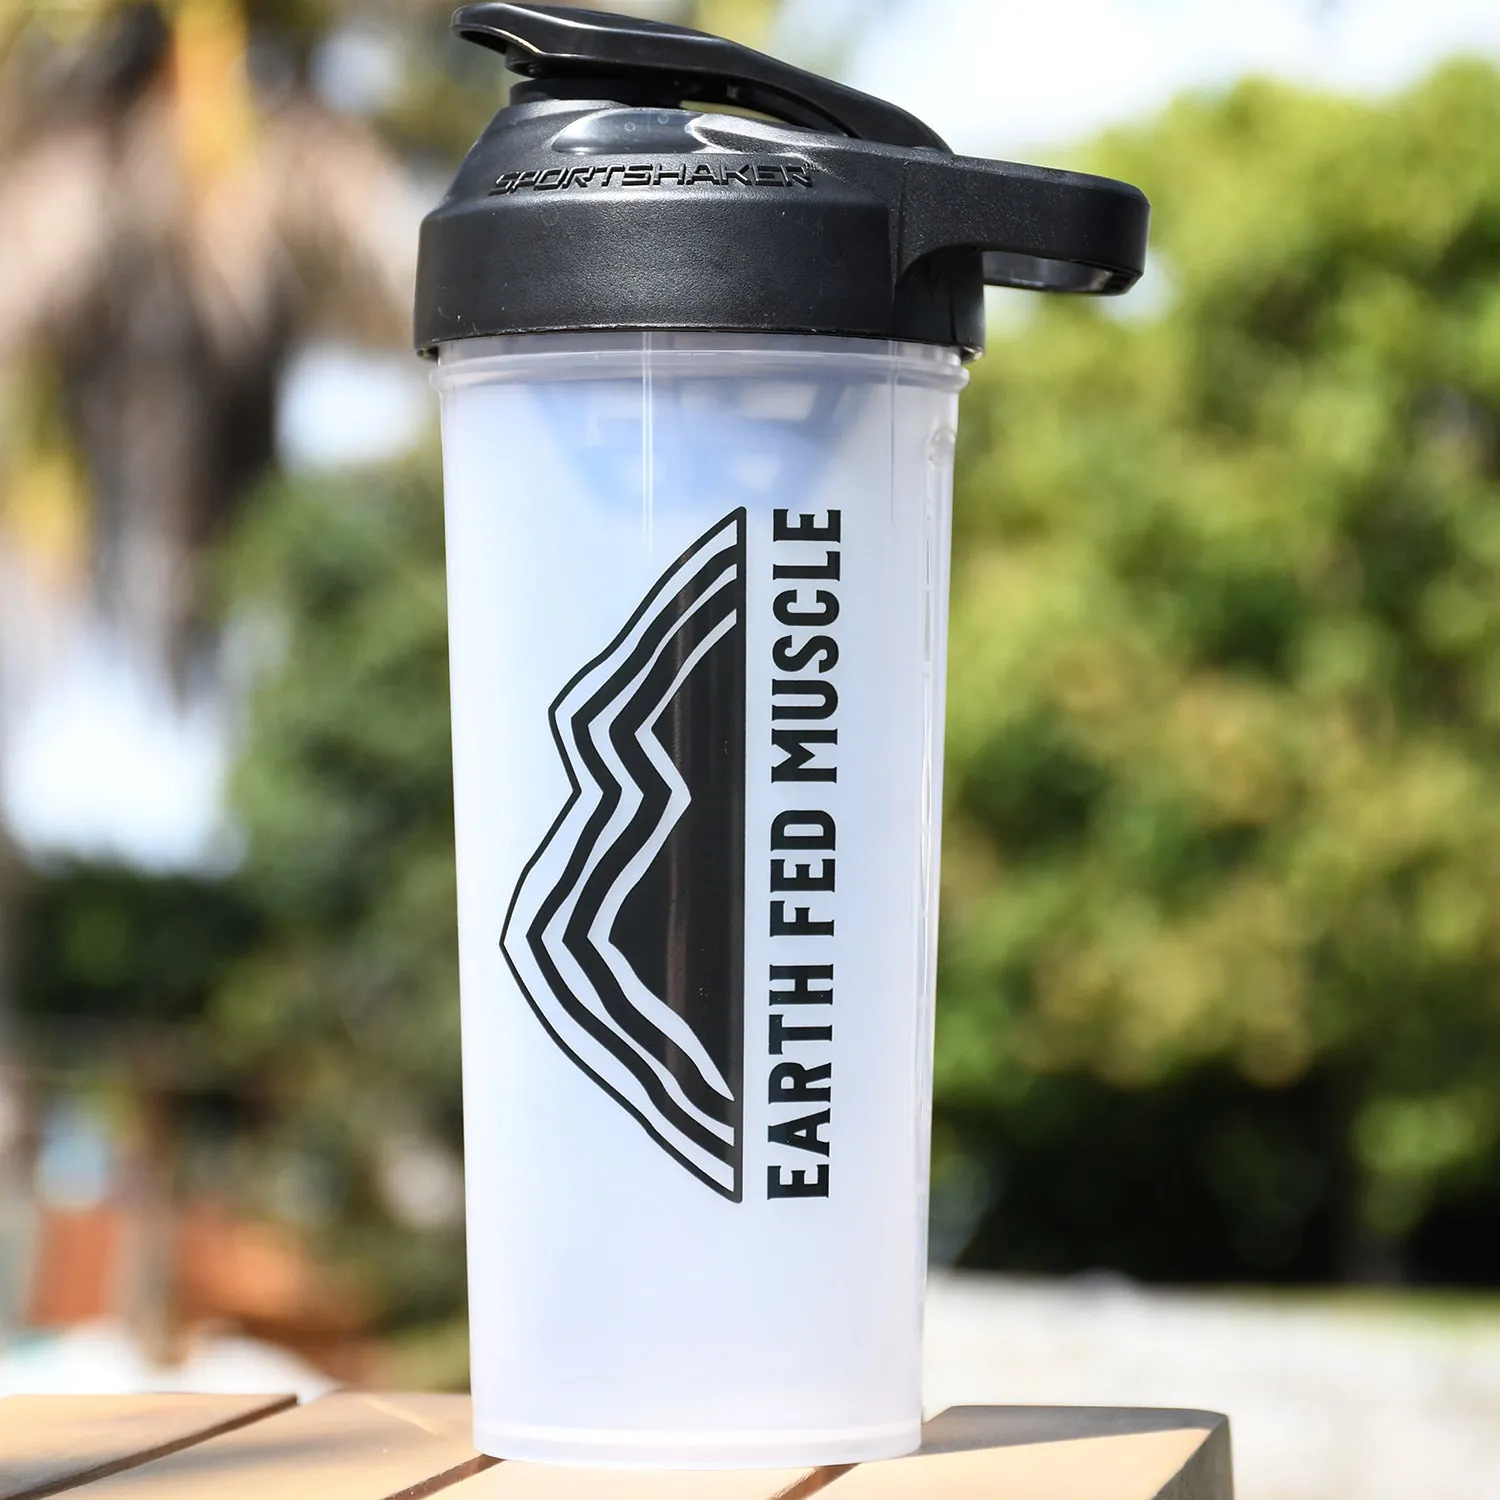
Skip a shaker if you blend ice, frozen fruit, nut butter, or oats into your drink — those need a blender’s blades, and a whisk ball will just clog. Skip it if you need a hot drink; most shakers aren’t built for heat and plastic can warp.
Skip it too if you’re mixing for medical reasons under a dietitian’s plan, where portions and thickness matter. Follow their instructions and the equipment they specify instead.
Related guides
Frequently asked questions
Can I use a protein shaker for hot drinks?
No, not for hot liquids. Heat can warp plastic threads and build pressure inside a sealed lid. Use an insulated steel bottle rated for hot drinks instead.
Why does my shaker leak?
The lid gasket is usually missing, twisted, or coated with powder grit. Reseat the gasket flat in its groove and wipe the threads clean before closing.
How long can I leave a shake in the bottle?
Drink it within about 2 hours at room temperature. Beyond that, texture and taste change, and warm milk-based shakes are a poor idea. Refrigerate if you must wait longer.
Is it safe to put a shaker in the dishwasher?
Only if the maker says so. Many plastic bottles warp on a hot dishwasher cycle, which ruins the thread seal. Check the bottle’s own care instructions first.
What happens if I add powder before water?
Powder sticks to the dry bottom and forms a cake that shaking won’t break up. Add liquid first, then powder, and you’ll get a smooth mix in 10-15 seconds.
How many ounces do I need for two scoops?
Check your tub’s label for the liquid it calls for per scoop, then pick a bottle with room to spare. A 28 oz bottle gives you room to shake without overflow.
Does the whisk ball really matter?
It helps with fine powders like whey. Thick powders and mass gainers need a grid mixer or extra shaking time. A bottle with no mixing aid relies on your wrist alone.
Do I need a BPA-free bottle?
Check the label. The FDA regulates food-contact plastics, and bottles sold for food use should state their compliance. If a listing says nothing, ask the seller what the bottle is made of.
Start with the lid and the size
Measure your usual scoop first, then buy a bottle that fits it with room to shake. Expect a smooth mix in 10-15 seconds with no drips when you turn it upside down.
If the lid still leaks after you’ve reseated the gasket, or the threads are cracked, stop and replace the bottle — that’s not a fixable problem.
0 Comments